Sizing images for your website can be a painful and complicated task. We know how tricky it can be so we have created a simple step-by-step guide to help you correctly size images for your website.
NB. you can find out how to choose images for your website based on your brand in Jerome’s post here.
Why is it important?
Having the correct image size is important for 2 main reasons:
1. Visual Consistency
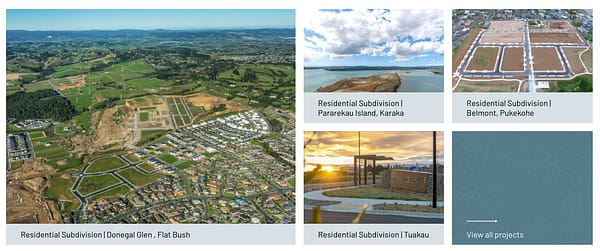
When you add new images to your website you want them to look well-positioned and consistent with the other images on your site. It’s also important that they line correctly and fit nicely with the content on the page.
2. Speed optimisation
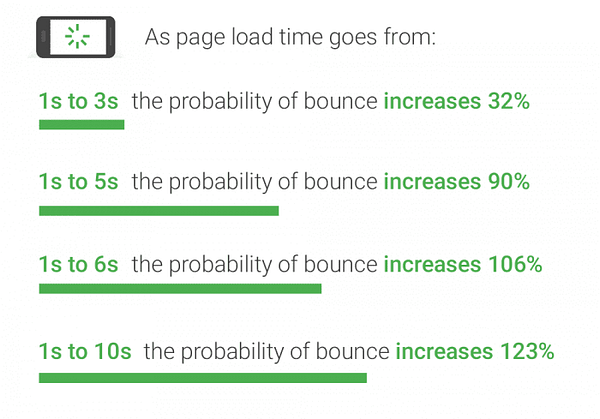
We all love big, beautiful, high-resolution images, but large file sizes slow down your website’s load speed. Not only is this an awful user experience, but Google will penalise you when ordering your blog within search results.
How to size your image
You have chosen your image and it looks great! Maybe a photographer took it, or you took it on your iPhone, or you downloaded a stock image.
We need to make sure it’s the correct size. While we tend to use Photoshop, that’s not an option for most of our clients, so we have been recommending this free tool to clients for years to help them size images. It’s super-easy and intuitive.
- Go to https://pixlr.com/x/
- Click “create new” on the left-hand side of the screen.
- It has a variety of pre-set options, but we need to create our own that matches the website requirements. So on the right-hand side, type in the width and height from the recommended image size from the website (or the dimensions of the images you are replacing).
- Click create, and now the new canvas is ready to use.
- Drag and drop the image you have onto this canvas then click “add current” to add the image to the canvas you just created.

The program will automatically crop the image to fit the canvas size and the next steps are:
- Click the arrow on the left side to position the image within the canvas
- Once you are happy with your image, go to the bottom bar and click save, add;
- the file name
- file type: jpeg
- quality: 100%
- Then click download.

Now you have your perfectly sized image, you can go back to your website and upload where you want it to go. Easy!
