Let’s say you have an idea for an app or web-app that will help solve a problem and maybe even make you some money.
You want to find someone who will build it for you so you can get it out into the world. There’s a critical step that is usually overlooked: Market validation and the subsequent prototype.
I’ll be covering the prototyping aspect in this article but if you want more information on market validation you can find some here.
A prototype is like ‘the app before the app’, it’s a tool that allows you to validate your idea and bring it to life without divulging thousands of man hours building something in the wrong direction. It’s also invaluable for getting buy-in from investors and testing with potential users.
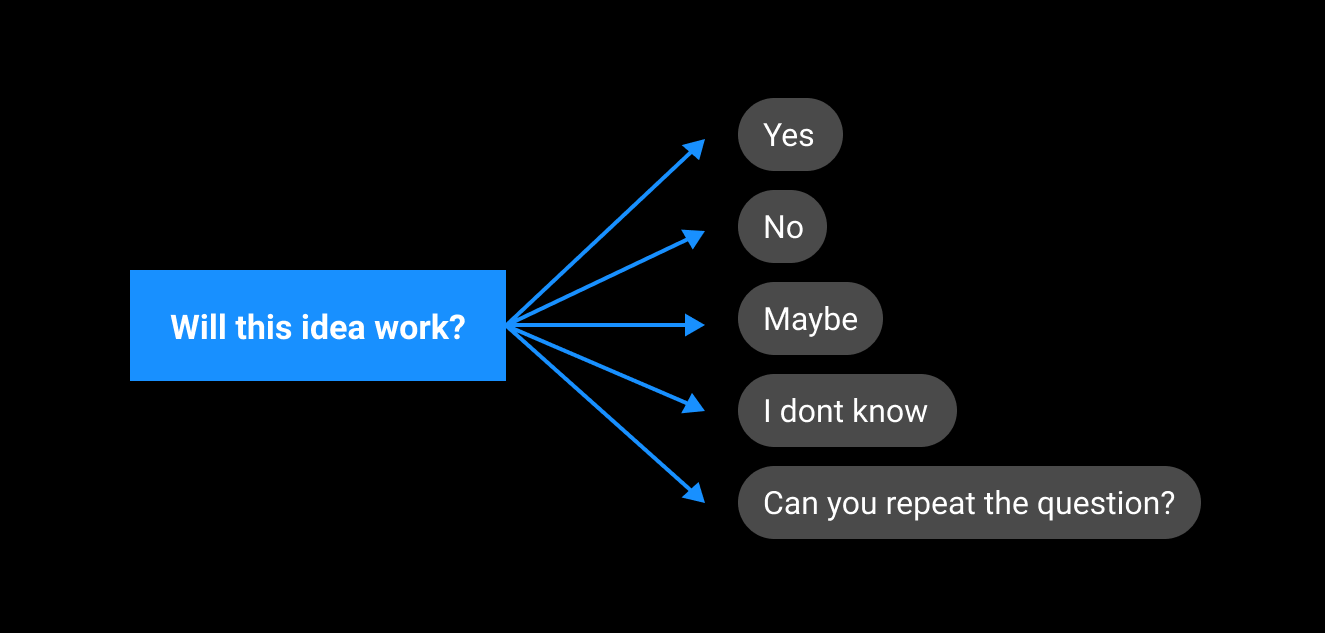
Would the market find something like this valuable? Does it solve the problem or does it need some changes to be useful?
The answers to those questions (among others) are absolutely invaluable feedback that is best to have nailed down into a final solution before you start building the core application.
To really get the most out of your app it’s a good idea to prototype early and iterate, below I will explain the steps in bringing a prototype to life from a designers point of view.
The prototype
1. Understand The Problem
The first and most important part is to fully understand the problem or issue you wish to fix. If you don’t truly understand the problem then chances are you won’t be able to fix it.
We need to clearly define the purpose of the app and how it’s going to help. This initial step helps to align and give focus to the solution but also gives the project a general scope of work.
2. Identify Key Functionality
The next step is really understanding and identifying the key features of the app that truly matter to the audience.

This usually involves a brainstorming session and probably some sticky notes or just a Trello board.
List out any and all features you want to have in the app, the more ideas the better at this stage.
3. Prioritize by importance and ‘nice to have’
Decide on which features are mission critical and which ones could be added ‘down the road’ as release features. This will help define the scope of the minimum viable product (MVP) and allow you, as a designer, to focus on the features that matter to the user.
4. Wireframe key screens
Design up the screens needed within the prototype including the key functionality that has been decided upon.
Depending on the project you might wish to give the wireframes a very basic blocky greyscale look, that might be all it needs to get the idea and functionality across.
Sometimes if the project is more complex and the solution relies on more design related aspects like colour coding you may wish to add a little more embellishment to give the user the right idea.
It’s a good idea at this stage to validate the basic idea with a developer as they might have some valuable insights you may not have thought of.
5. Turn your wireframes into an interactive prototype
Once you’re happy that the wireframes solve the issues and the user experience in a good way, it is time to test. To do that we need to set up hit area and transitions from screen to screen.
A clickable prototype makes the product feel real, it allows buy-in from investors because people just get it. It also allows developers to get a feel for it before finalizing the design.

I use Figma these days to create the wireframe and prototype as it allows for the flexibility. The hand-off and testing are also great as anyone can visit the link in a web browser to view the demo and add comments in situ.
6. Test, review and iterate
With your prototype ready you can then use it for market validation and user experience tests. You might ask the user to complete a specific task and ask if they felt it was intuitive or easy enough to use? Did it meet their needs? etc
After this round, you can review and collate the feedback and make any changes to the prototype you feel are necessary. Keep going until you’re happy with your solution.
From here you can get buy-in from investors or continue the development process. The developers can then use the prototype as a base to work from while creating a functional spec document.
You might want to polish the design a little before handing over to the developers, but having a functional prototype can save a lot of time in the development process as the requirements are all laid out, easily understandable and everyone is on the same page.
If you have an idea that might save your industry time or money and it would work well as an app or web-app, it’s probably a good idea to invest in a clickable prototype.
